Pushing a new project to Chocolatey

On this page8 sections ▾
#
#Inspiration
Today my DotNet Pretty articles were featured on @coding4fun by Greg Duncan and one of the comments by Niner bc3tech (@bc3tech) requested that I share this solution on Chocolatey. I decided that this was a good idea and decided to share my experience 🙂.
#Creating a Chocolatey Account
Creating the Chocolatey account was as simple as filling a couple of common fields at https://chocolatey.org/account/Register.
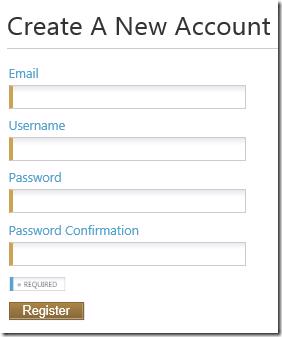
In the registration mail you are given a link to Rules to be observed before publishing packages which mentions that you can host your packages with MyGet

#Creating a MyGet Account
Heading over to MyGet I saw that they had a Free subscription
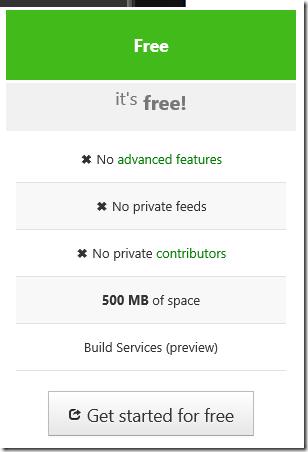
But they also have an offer for MVP's, ASPInsiders, Windows Azure Insiders and ALM Rangers 🙂. Fitting into 2 of these categories now I decided to head over to https://www.myget.org/mvp and request a NFR license 😁. The extra features available on this subscription made it perfect for my community project (and ones to follow 🙂). In no time I had my DotNet Pretty Package Feed up.
#MyGet Build Services
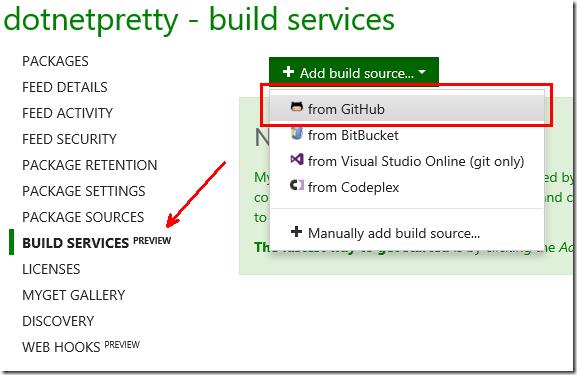
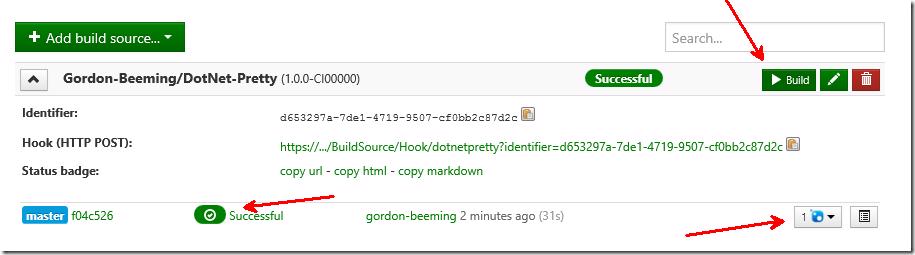
The DotNet Pretty project is currently hosted out on GitHub and so I decided that I'll try out MyGet's build services which is now in preview. This was as simple as clicking on BUILD SERVICES from the menu and then on Add build sources and then from GitHub.
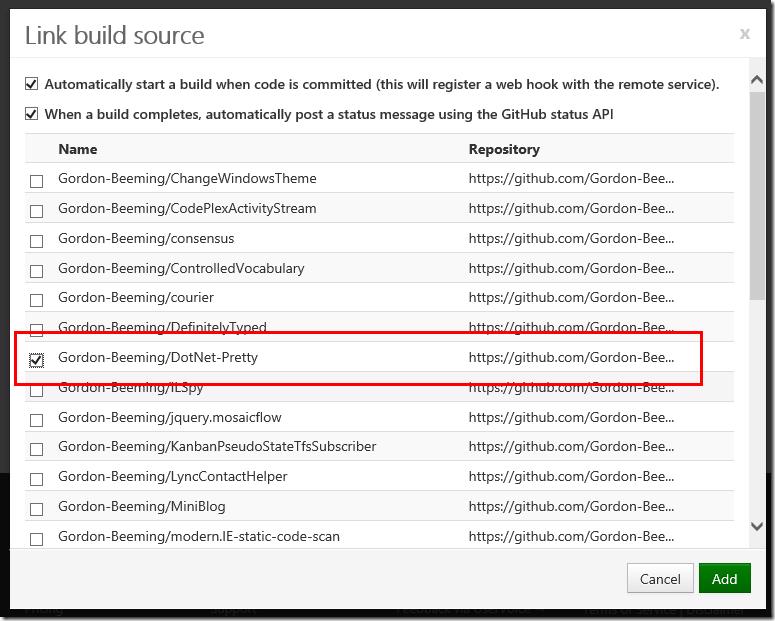
this poped open the Link build source dialog where I selected the DotNet Pretty project from the list and clicked Add.
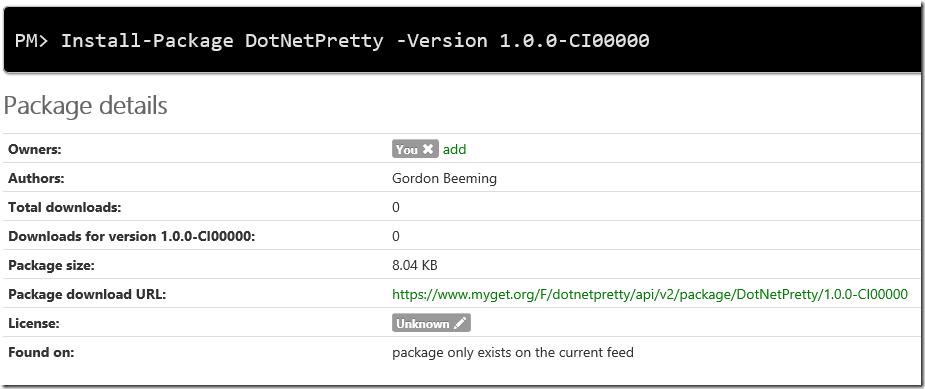
From here I clicked Build and in no time the build completed
#Updating GitHub project to show MyGet build status
From the build services page I was able to click on copy markdown
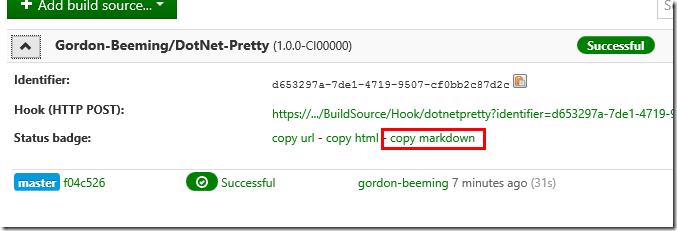
which gave me the markdown that I could insert into the readme.md file which I did with my new favorite Markdown editor MarkdownPad 2
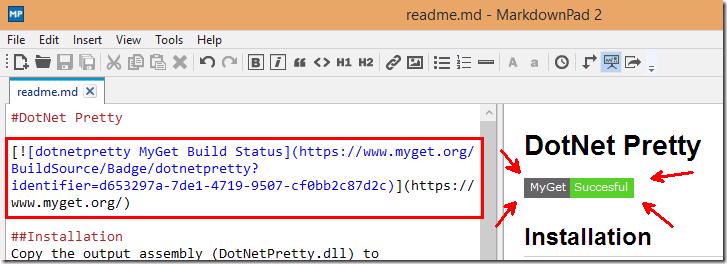
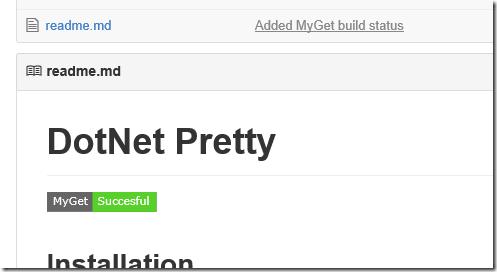
A quick commit added this status to the public project on GitHub
#Pushing the packaged to Chocolatey
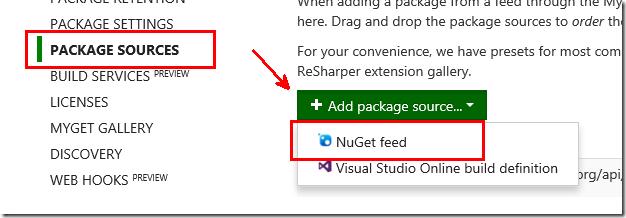
The next thing I needed to do was add a new package source to my MyGet package feed Chocolatey. I went over to the Package Sources menu and clicked on Add package source and the NuGet feed.
The next bit was very simple, I simple clicked on Presets and then Chocolatey
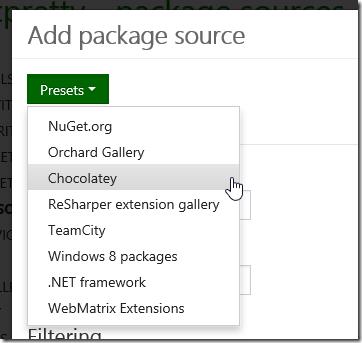
This then went ahead and filled in the Name and Source for me
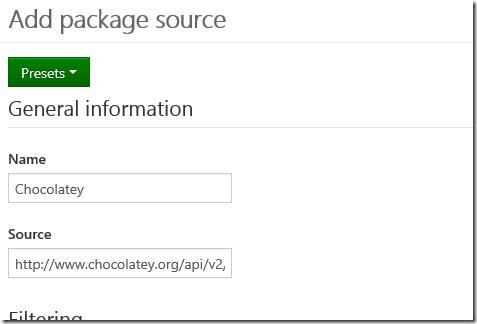
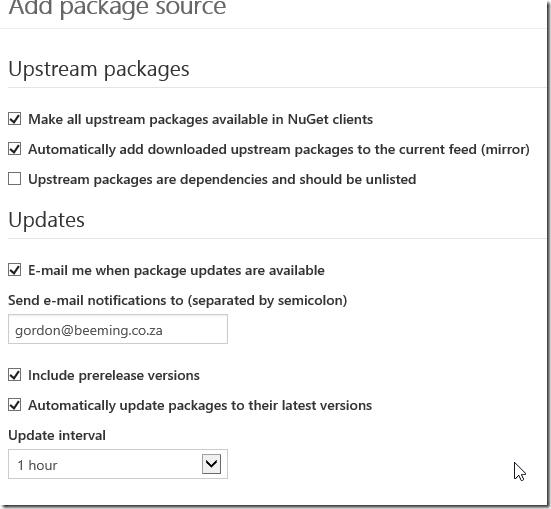
All that was left to do was provide my Chocolatey which was my Username, Password and API Key. I also filled in some of the extra meta data for my source
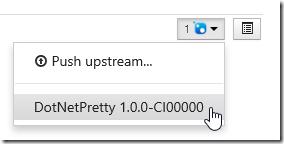
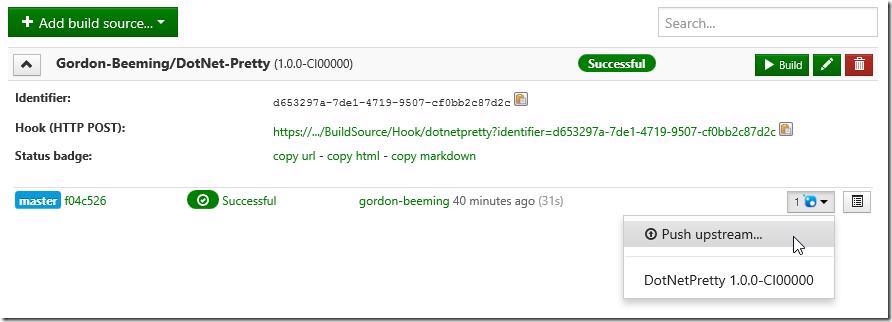
Next I headed over to build services again and clicked on Push upstream
this presented a window like below
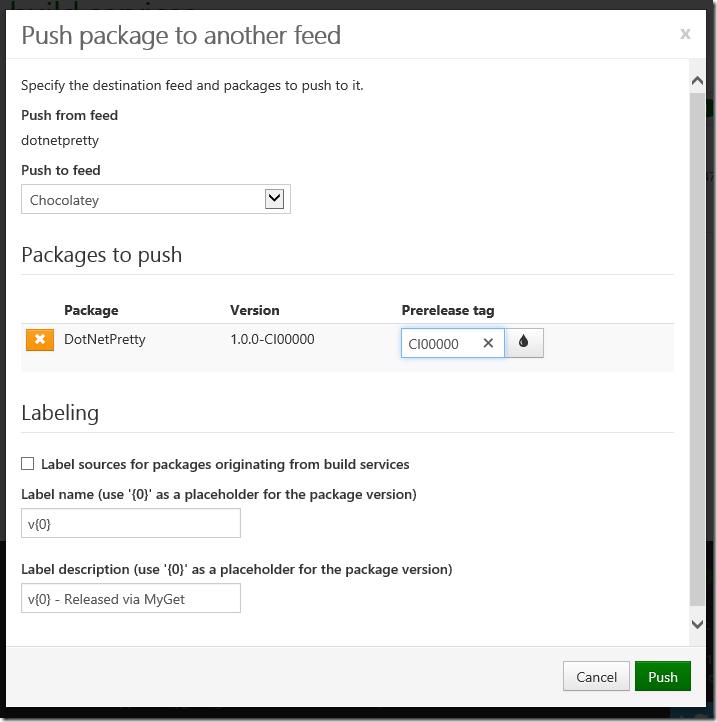
where I just clicked on Push

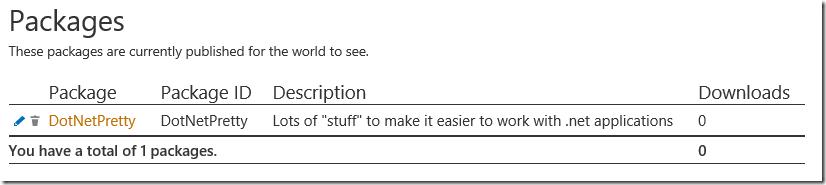
And received the message saying they on it 😁. Headed back over to Chocolatey and my package was in the list
#Installing Chocolatey "Client"
On the machine I'm using I didn't have Chocolatey installed so opened up a PowerShell Command Window as Administrator (just for in case 🙂) and ran the command
iex ((new-object net.webclient).DownloadString('https://chocolatey.org/install.ps1'))
#Installing my package
To test if my package was installer I ran the command below
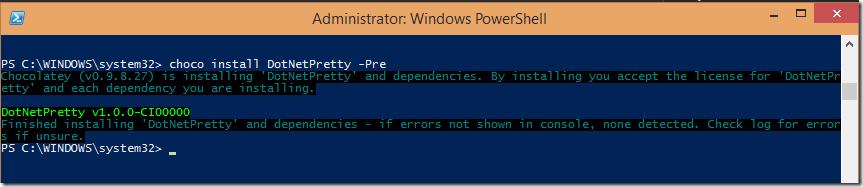
choco install DotNetPretty -Pre
which confirmed that my package now now been installed
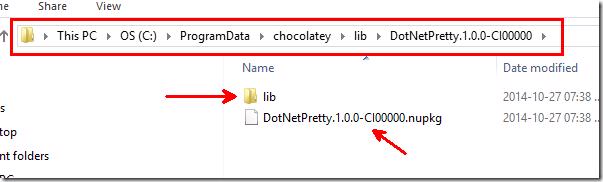
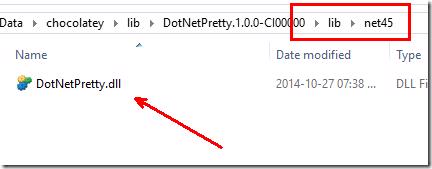
At this point my Chocolatey package "installs" by dropping the package contents in the Chocolatey folder
In a later post I will share how to configure the installation logic for a Chocolatey script.
Update: The post can be found here (Configuring a Chocolatey Install).