Visual Studio Item Templates vs .NET Templates in 2023

On this page3 sections ▾
#Exporting Item Templates in Visual Studio
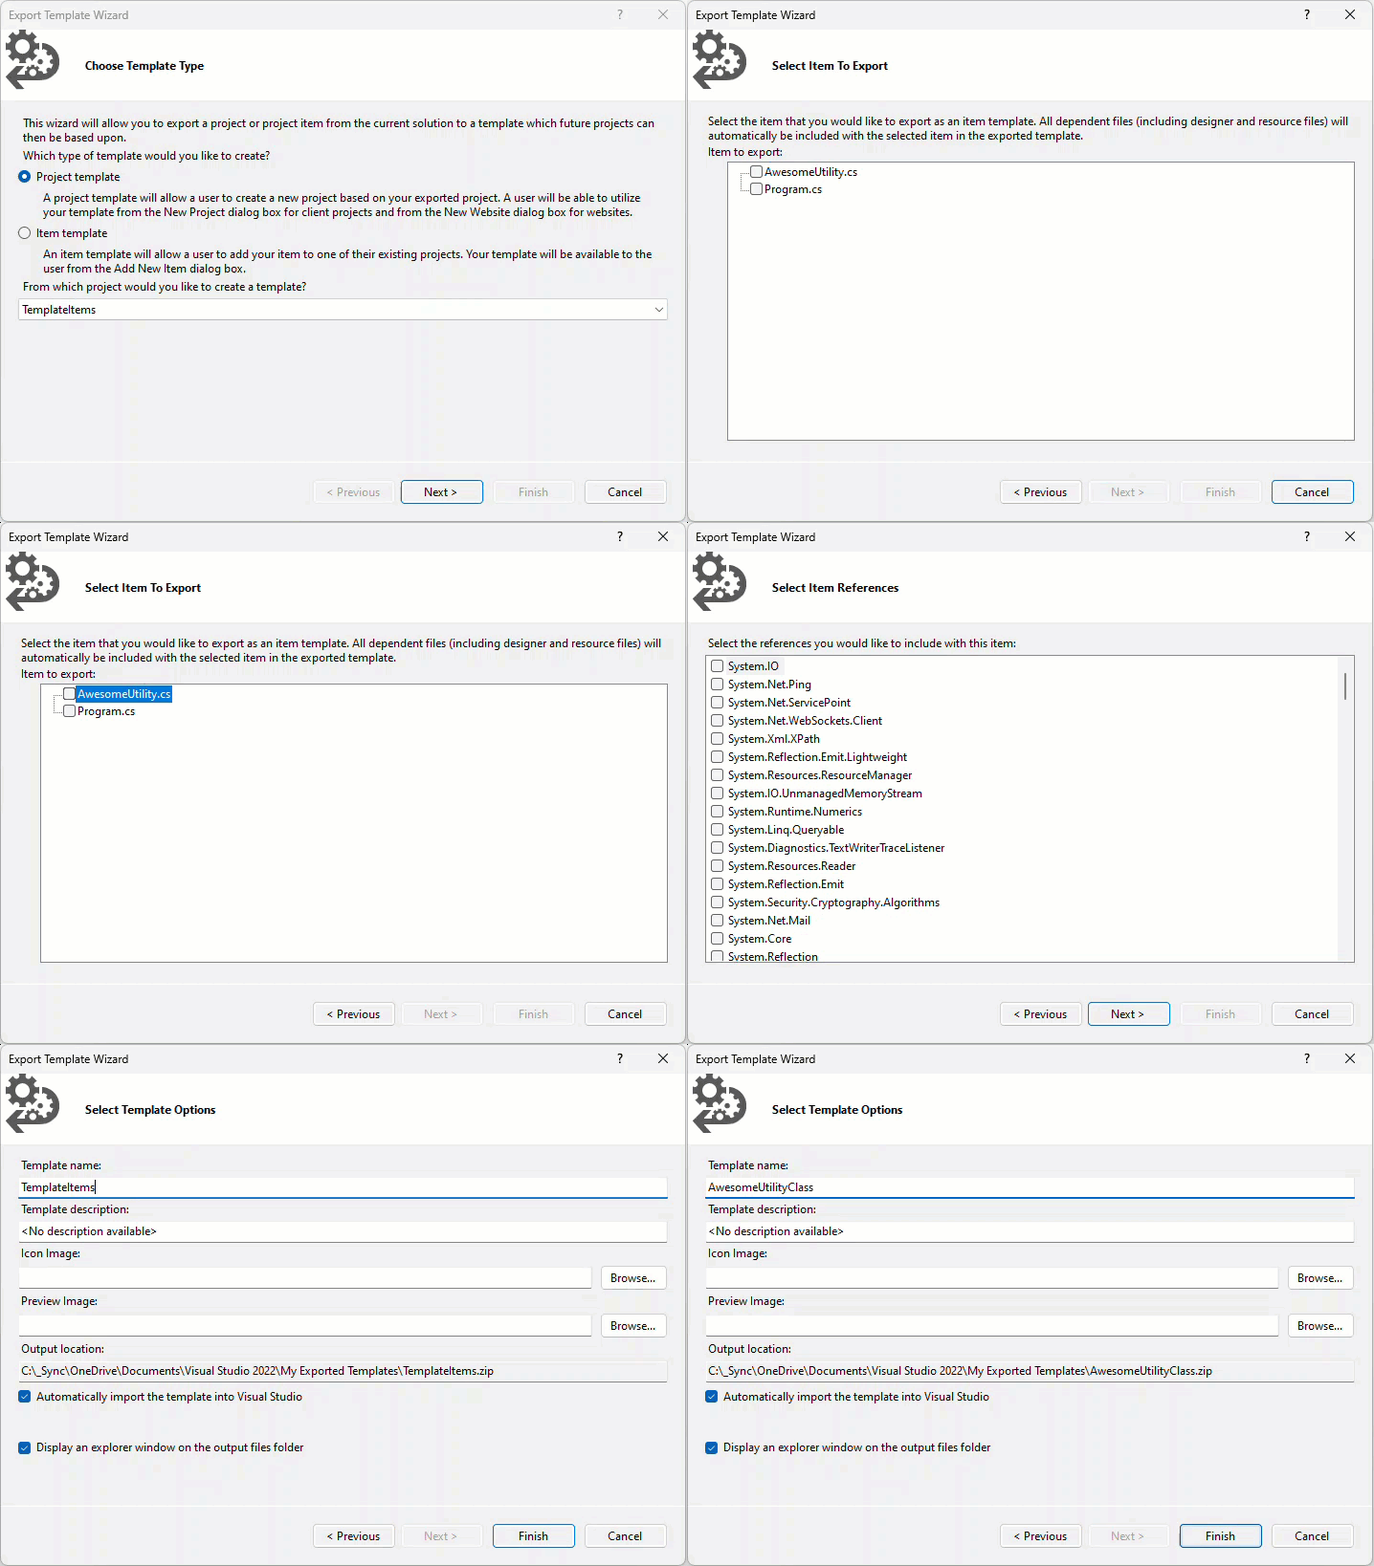
Let's start by looking at what the process looked like to export an Item Project template in Visual Studio.

Next, a dialog will come up asking you some info like which file you want to export, which references are essential for the item to work as expected, and some metadata for the item template
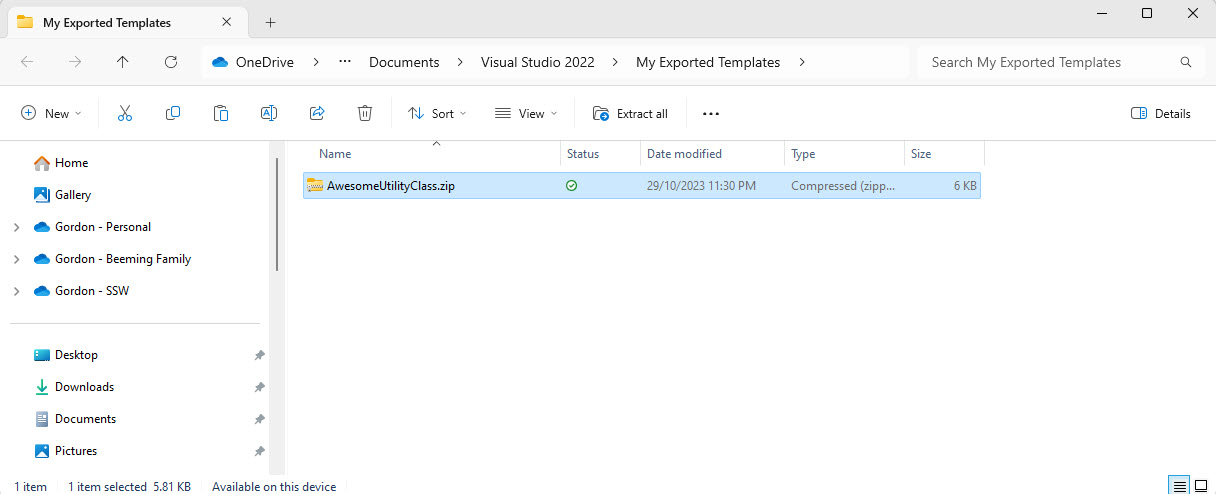
⚠️ WARNING: Make sure you backup this file to use on other machines or share it with your friends
Reusing this file is simple. All you need to do is copy the file into the My Exported Templates folder (you will need to create this folder if it does not exist) on another computer.
#Pros and Cons
Let's look at the pros and cons of exporting item templates in Visual Studio
✅ Quick and easy
✅ Private by default
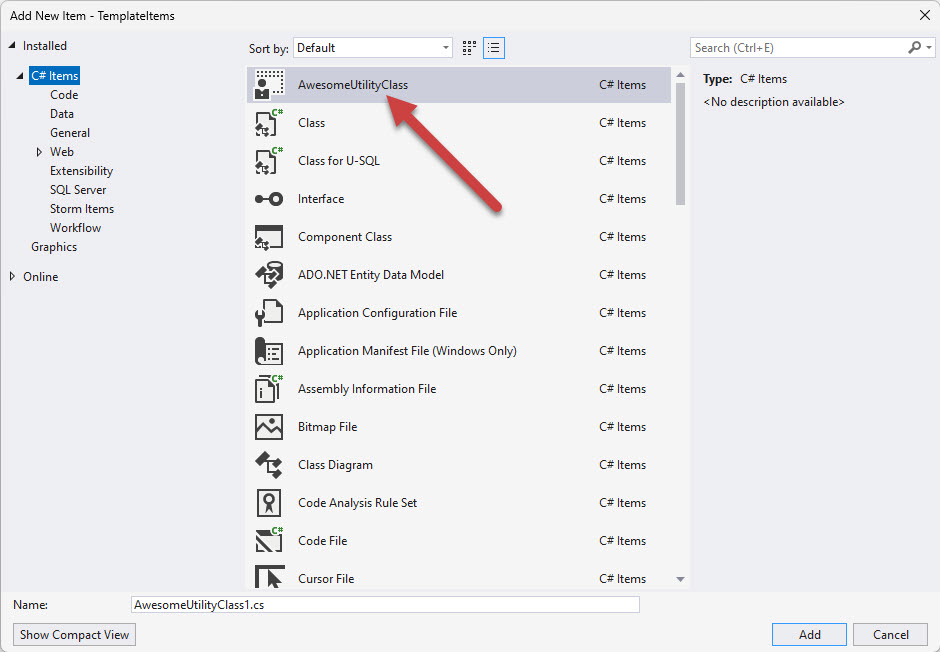
✅ Item Templates show in the Visual Studio Project | New Item dialog
❌ Only one file per item template
❌ Manually backed up and shared
❌ Updates require more manual effort
⚠️ Requires restarting Visual Studio to use
So, let's look at the modern alternative to using Item Templates
#Creating config for a dotnet new template
So, this approach takes a little more effort but has many benefits over creating an item template.
#How does it work
dotnet new templates are installed from nuget package feeds. This could be the default public feed https://www.nuget.org/, which is typical for community/open source templates and is where the dotnet new install command will look for packages if not informed to look elsewhere using the --add-source argument. This post will create a package for the public feed and will be available to anyone who tries to install it
#Creating the nuget package
There are a couple of files that we'll need to create in a folder. I've published this sample to GordonBeeming/DefaultCSharpRepoFiles on GitHub if you want to browse the source. We start with the following structure.
root
└───.template.config
└───template.json
└───icon.png
└───DefaultCSharpRepoFiles.nuspec
└───README.md
The text files have this content in them
{
  "$schema": "https://json.schemastore.org/template.json",
  "author": "Gordon-Beeming",
  "classifications": [
    ".NET",
    "CSharp",
    "git",
    "editorconfig"
  ],
  "name": "Default C# Repository Files",
  "description":  "Adds default files to a repository (for C# projects)",
  "identity": "GordonBeeming.DefaultFiles.CSharp",
  "groupIdentity": "GordonBeeming.DefaultFiles",
  "shortName": "gb-defaults-csharp",
  "tags": {
    "language": "C#",
    "type": "item"
  },
  "preferNameDirectory": false,
  "sources": [
    {
      "source": "./",
      "target": "./",
      "exclude": [
        "README.md",
        "**/[Bb]in/**",
        "**/[Oo]bj/**",
        ".template.config/**/*",
        ".vs/**/*",
        "**/*.filelist",
        "**/*.user",
        "**/*.lock.json",
        "**/.git/**",
        "*.nuspec",
        "**/node_modules/**"
      ]
    }
  ]
}
Figure: .template.config/template.json - This is the configuration file that informs the .NET CLI what our template is and what it does
<?xml version="1.0" encoding="utf-8"?>
<package xmlns="http://schemas.microsoft.com/packaging/2012/06/nuspec.xsd">
  <metadata>

    <id>GordonBeeming.DefaultFiles.CSharp</id>
    <version>0.0.1</version>
    <title>Default C# Repository Files</title>
    <authors>Gordon-Beeming</authors>
    <description>Default files to be added to each C# repository</description>
    <summary>
      A couple of files that Gordon Beeming generally adds to each repository I create containing C# code
    </summary>
    <releaseNotes>
    </releaseNotes>

    <projectUrl>https://github.com/GordonBeeming/DefaultCSharpRepoFiles</projectUrl>
    <repository type="git" url="https://github.com/GordonBeeming/DefaultCSharpRepoFiles.git" branch="main" />

    <license type="expression">MIT</license>
    <requireLicenseAcceptance>false</requireLicenseAcceptance>
    <tags>item template csharp dotnet</tags>
    <icon>icon.png</icon>
    <readme>README.md</readme>

    <packageTypes>
      <packageType name="Template" />
    </packageTypes>

  </metadata>

  <files>
    <file src=".template.config\icon.png" target="" />
    <file src="README.md" />
    <file src=".\**" target="content" exclude="**\bin\**;**\obj\**;**\.vs\**;**\.vscode\**;**\.git\**;**\.github\**;**\LICENSE;**\*.nupkg" />
  </files>

</package>
Figure: DefaultCSharpRepoFiles.nuspec - This file contains all the files that will be placed on the page that is published to nuget.org
# Default C# Repository Files

A couple of files that I generally add to each repository I create containing C# code

## Installing the template

To install the template, run the following command:

```bash
dotnet new install GordonBeeming.DefaultFiles.CSharp
You'll see an update similar to this
Template Name                Short Name          Language  Tags
---------------------------  ------------------  --------  ----------------------------
Default C# Repository Files gb-defaults-csharp [C#] .NET/CSharp/git/editorconfig#Using the template
Once installed, you can easily use the files by using the following command:
dotnet new gb-defaults-csharpIf you have any of the files already, you'll need to run the command with a --force argument.
#Checking for template updates only
If you already have the template installed you can run the following command to see if there is an update available
dotnet new update --check-onlyTo update all templates, remove the --check-only argument, to update this template only, run the install command again.
#Updating files to be included in the template
Updating files is simple... just add them and they should be published as DefaultCSharpRepoFiles.nuspec includes all files off the repository root.
**Figure: README.md - This file contains information that is shown on the repository on GitHub and the package page on nuget.org**


```bat title="Terminal"
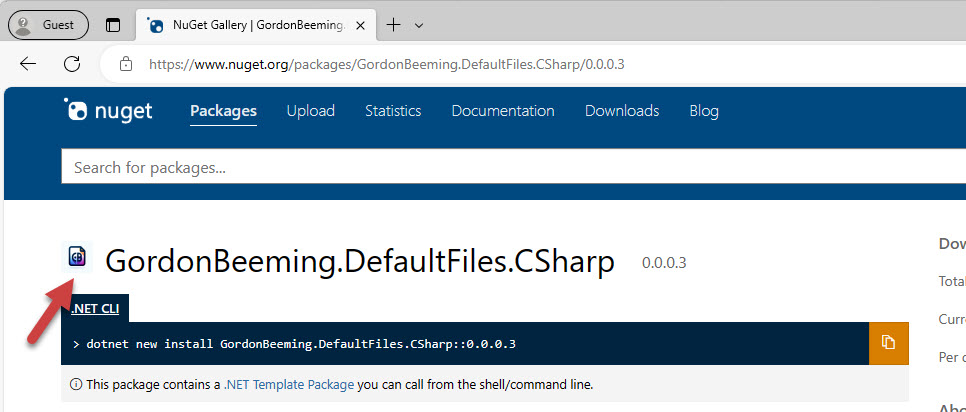
nuget pack DefaultCSharpRepoFiles.nuspec -NoDefaultExcludes -version 0.0.0.3
I won't dive into all the configurations inside all the files. You can read up on all the config and the process in more detail at Create an item template for dotnet new - .NET CLI | Microsoft Learn.
Once you have all these files, you can add any other files you want to include in the template once installed. I've included the following files for now in my template
- .editorconfig
- .gitattributes
- .gitignore
Run the below to pack the nuget package so it can be uploaded to nuget.org
and this will create a nupkg file (note you need a copy of nuget.exe globally to just pack directly like this)
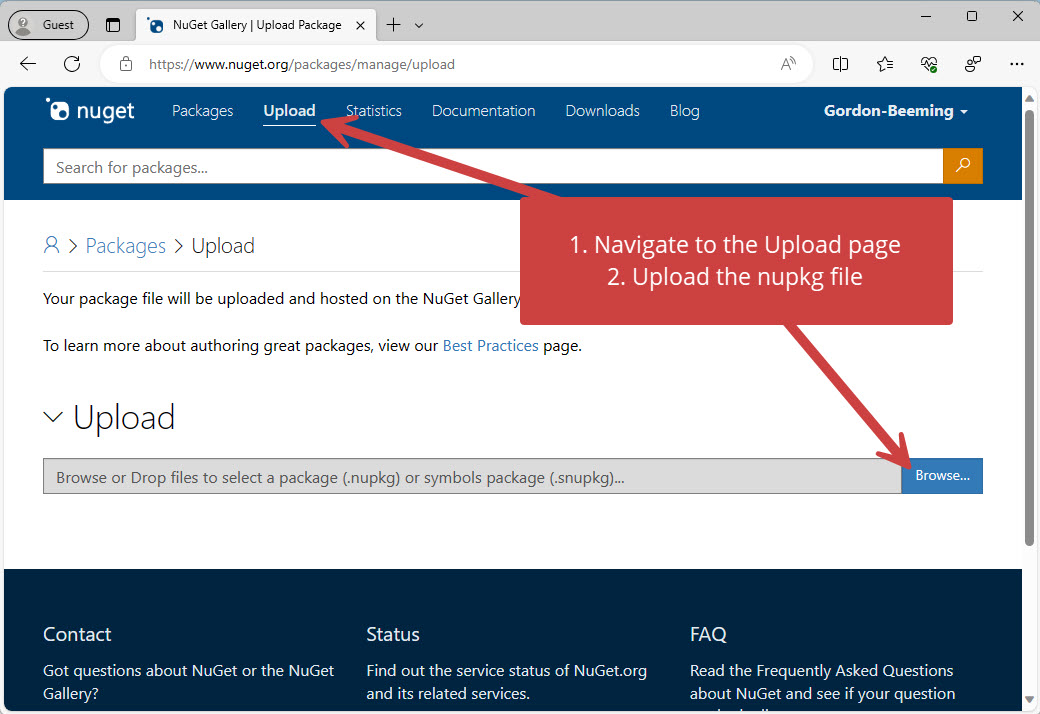
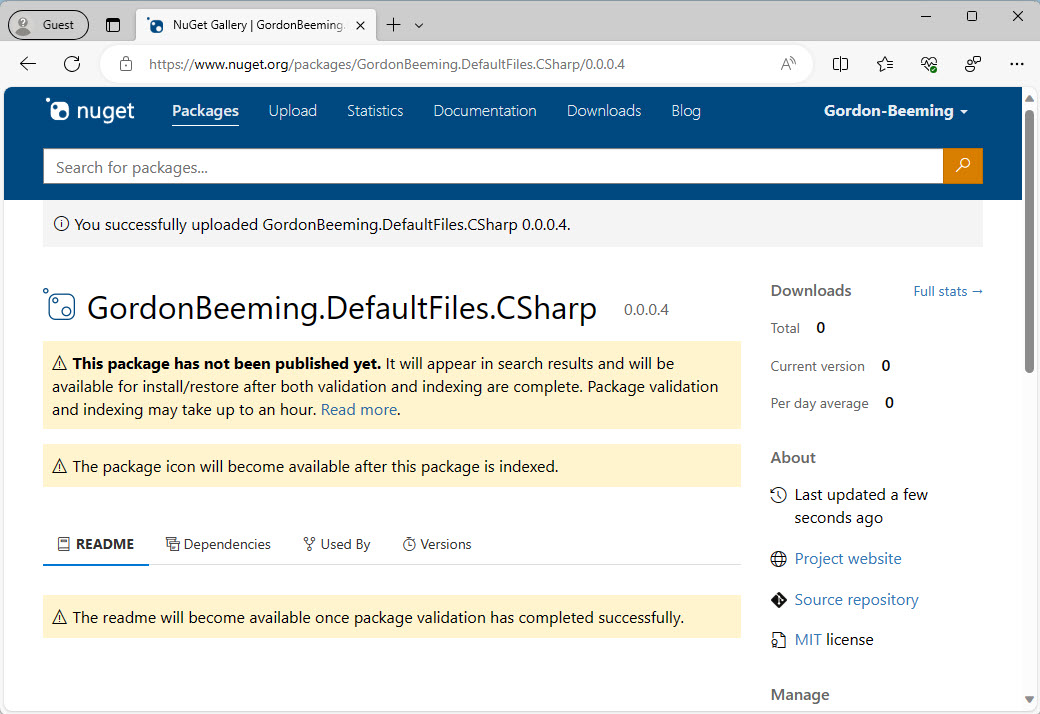
Once the validation and indexing process is completed, you can install the template and use it using the commands below
dotnet new install GordonBeeming.DefaultFiles.CSharp
dotnet new gb-defaults-csharp
The dotnet new install command will install the latest template and update it if there is a newer version.
To check for updates without installing you can run
dotnet new update --check-onlyIf there are any updates, you will give get a response like the one below using dotnet new update, you can update all templates at once
An update for template packages is available:
Package                            Current  Latest
---------------------------------  -------  -------
GordonBeeming.DefaultFiles.CSharp  0.0.0.3  0.0.0.4


To update the package use:
   dotnet new install <package>::<version>
   dotnet new install GordonBeeming.DefaultFiles.CSharp::0.0.0.4

To update all the packages use:
dotnet new update#Pros and Cons
Let's look at the pros and cons of creating a .NET template
✅ Easy to share with friends
✅ Easy to version control changes
✅ Easy to automatically package updates (check out next week's blog post for how we'd do this)
✅ Flexibility - You can include any number of files in the template, from in and out of the solution
❌ Public by default (not ideal for enterprises - maybe I'll add a post on changing this)
❌ A more advanced approach, requiring a lot more work than creating an Item template
#Conclusion
The newer, preferred approach to creating item-type templates has changed significantly but has many advantages over the previous item-based templates. There is tons of documentation on how dotnet templates work and how you can customize them
If you want to see how to automate the publish to nuget.org, take a look at the next post Deploying .NET templates using GitHub Actions - Gordon Beeming