A 'Hello World' for VSTS Extensions

On this page6 sections ▾
So if you haven't heard yet VSO Extensions are now in a private preview where you can sign up to get into the preview on extensions integration site. These extensions in the shortest sentence a supported way of doing customizations to VSO that will replace any of the "hacky" extensions that you may be playing around with at the moment like Tiago Pascal's Task Board Enhancer or maybe you have even created your own following similar steps to what I show in my TFS 2013 Customization book.
This post aims to give you a super quick guide on how to get started, you will need to go through the integrations site to really get into detail. It has most of what you will find in most posts but gives you a little something extra that most posts wouldn't have like tips on free stuff 🙂
#File, New Project
The easiest way to get a basic something in VSO is to just create a new project.
#Create/Configure Project
We are going to create a new Type Script project
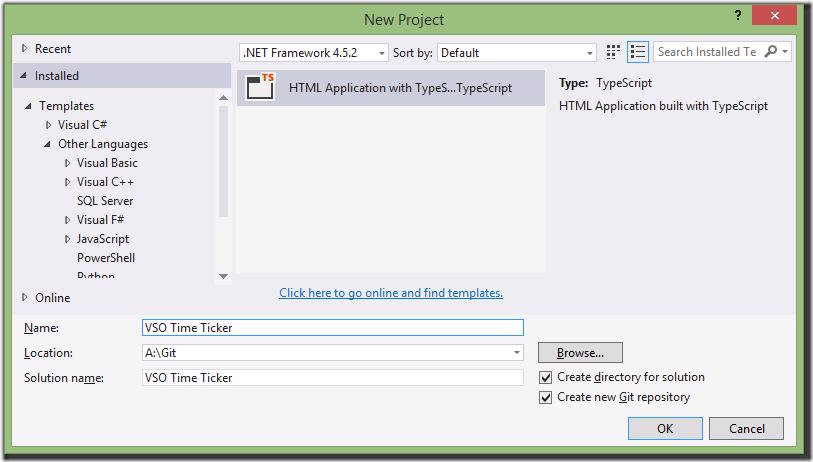
You should have something like below now
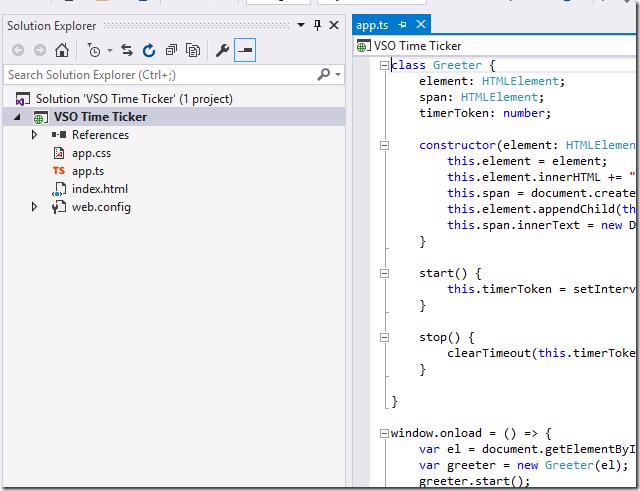
#Configure SSL in IIS Express
When you have the VSO Time Ticker project selected head over to the properties window
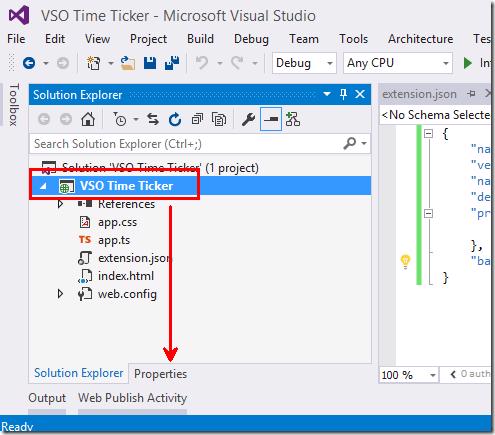
Change SSL Enabled to True
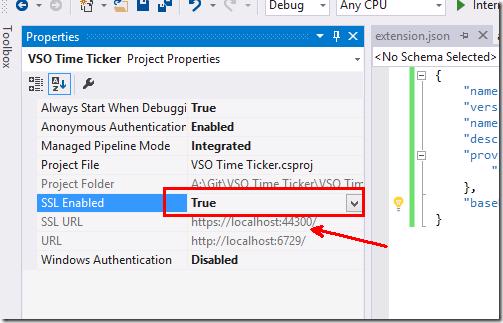
Take note of the SSL Url that is now available to you.
#Add a extensions.json
Let's add a extensions.json manifest file that will be used to inform VSO what our projects actually about
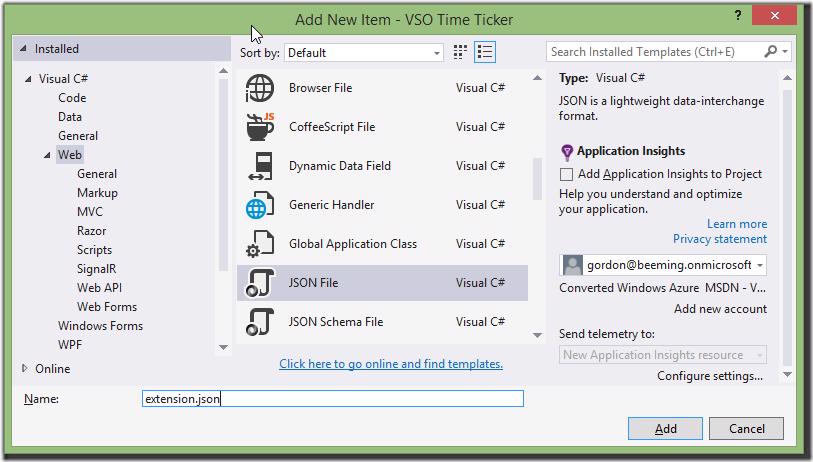
and drop in the content below, replace the baseUri property to include the port you have been assigned for SSL for the project.
{ "namespace": "VSO-Time-Ticker", "version": "0.0.1", "name": "Time Ticker", "description": "A simple extension for Visual Studio Online of a Time Ticker", "provider": { "name": "Gordon Beeming" }, "baseUri": "https://localhost:44300/", "icon": "https://localhost:44300/images/some-icon.png", "contributions": { "vss.web#hubs": [ { "id": "time", "name": "Time", "groupId": "home", "order": 22, "uri": "index.html", "usesSdk": true, "fullPage": false } ] }}#Get the SDK
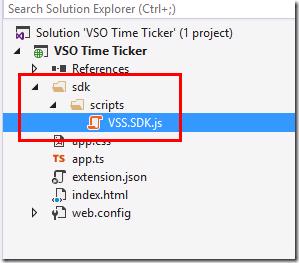
Navigate to GitHub to the samples project and grab the VSS.SDK.js file. Save a copy of that to a scripts folder inside a sdk folder and add it to your project.
#Include our App js files
While we here let's build the project, show hidden folders and add the app.js and app.js.map files to the project
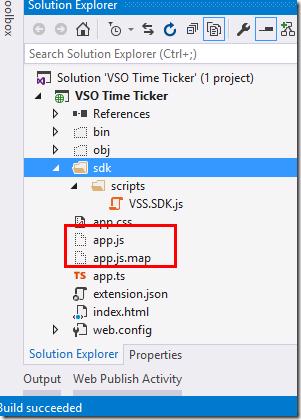
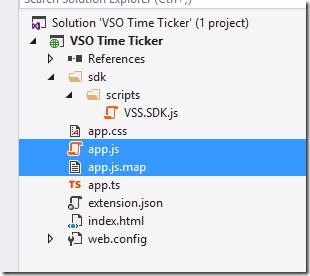
If you are using source control you should also at this point undo those files being added source control and then also add them to be excluded otherwise you may get a weird error when it comes time to build your project on a build server (TypeScript : Emit Error: Write to file failed...).
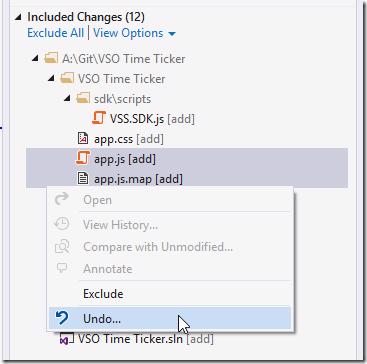
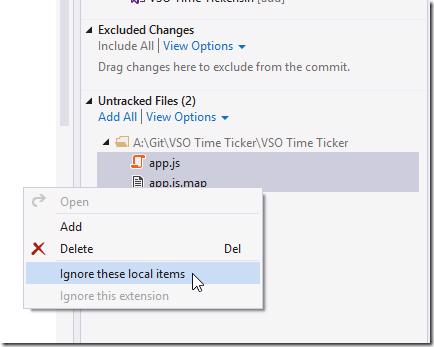
The reason we want these as part of the solution is so that when we do web deploy later they are deployed as well 🙂.
#Add our app icon
Make a images folder and add a image called some-icon.png to it
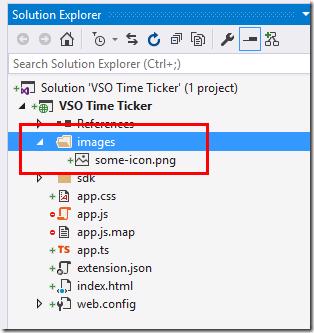
#Move App js file
Move your App.ts, App.js and App.js.map into a scripts folder. If you have source you might need to re undo and ignore those extra files.
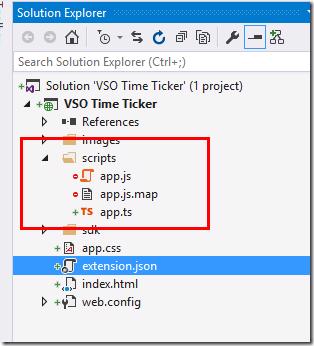
#Setup index.html
This is a rather simple step, replace the reference to app.js with one to sdk/Scripts/VSS.SDK.js so it will look something like
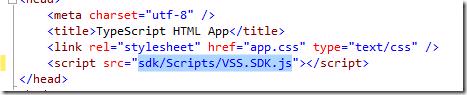
Add the following script just inside your body tag
<script type="text/javascript"> // Initialize the VSS sdk VSS.init({ setupModuleLoader: true, moduleLoaderConfig: { paths: { "Scripts": "scripts" } } }); // Wait for the SDK to be initialized VSS.ready(function () { require(["Scripts/app"], function (app) { }); });</script>So at this stage your full index.html page will look like
<!DOCTYPE html><html lang="en"><head> <meta charset="utf-8" /> <title>TypeScript HTML App</title> <link rel="stylesheet" href="app.css" type="text/css" /> <script src="sdk/Scripts/VSS.SDK.js"></script></head><body> <script type="text/javascript"> // Initialize the VSS sdk VSS.init({ setupModuleLoader: true, moduleLoaderConfig: { paths: { "Scripts": "scripts" } } }); // Wait for the SDK to be initialized VSS.ready(function () { require(["Scripts/app"], function (app) { }); }); </script> <h1>TypeScript HTML App</h1> <div id="content"></div></body></html>#
#Update App.ts
In your App.ts file remove the window.onload function and replace it with it's body so your App.ts file will look like below
class Greeter { element: HTMLElement; span: HTMLElement; timerToken: number; constructor(element: HTMLElement) { this.element = element; this.element.innerHTML += "The time is: "; this.span = document.createElement('span'); this.element.appendChild(this.span); this.span.innerText = new Date().toUTCString(); } start() { this.timerToken = setInterval(() => this.span.innerHTML = new Date().toUTCString(), 500); } stop() { clearTimeout(this.timerToken); }}var el = document.getElementById('content');var greeter = new Greeter(el);greeter.start();#Run App
Running your app with ctrl + F5 you will get a blank app that does nothing 🙂
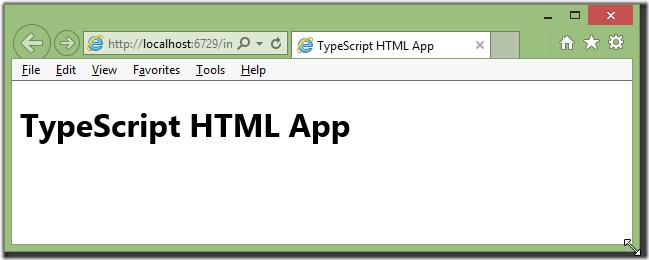
Changed the url to point to the SSL version of your site just to make sure everything is working
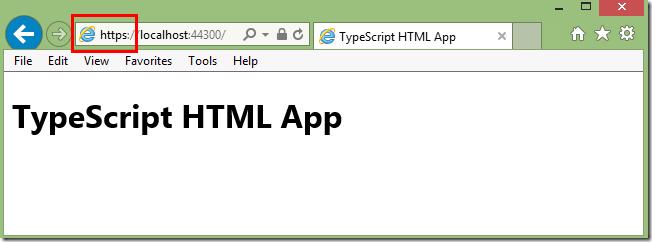
Our App is now complete 😁
#Install your extension
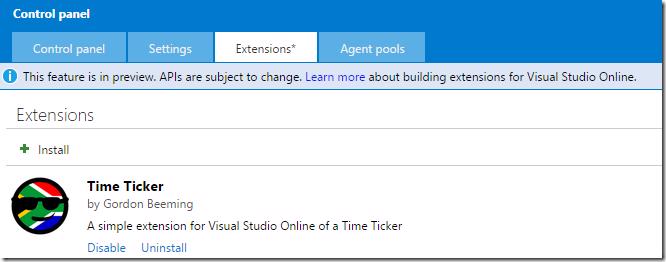
If you have signed up for the private preview you should see a tab in the admin section of your account called Extensions like so
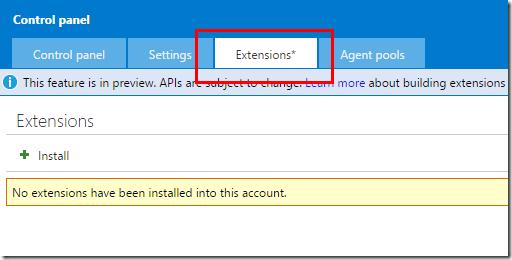
Click Install, and then Browse
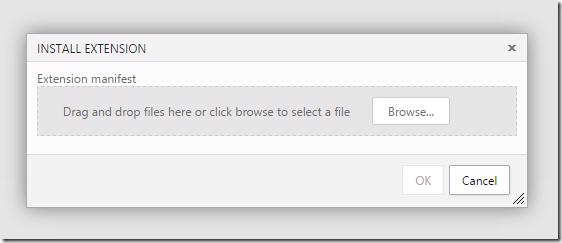
browse for your extension.json file
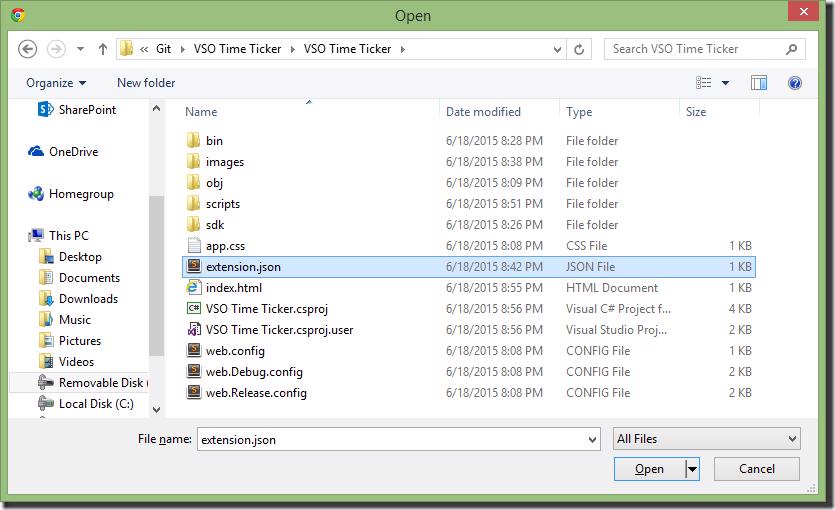
Click Open and then OK
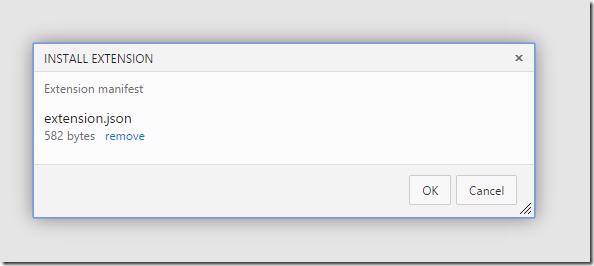
Your extension is now installed
#View it on VSO
Go to a team project home page and you should now see a Time hub, click on it
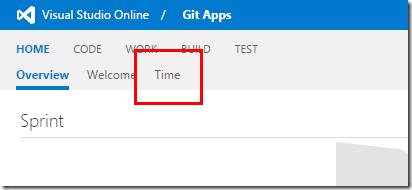
Once you land here you will the time 🙂
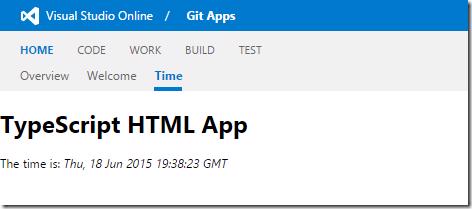
That's 1 extension in the bag but having this run on your local machine is probable not want you would want because nobody else can see it.
#
#Publishing you app
You could buy an SSL certification but that costs a lot and most people don't have that kind of money laying around for fun apps and extensions so we'll turn to Azure. We will now right click on our project and click publish
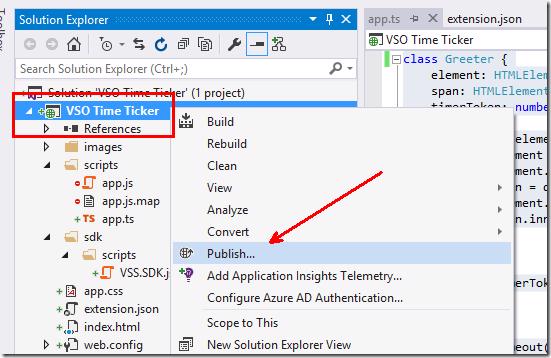
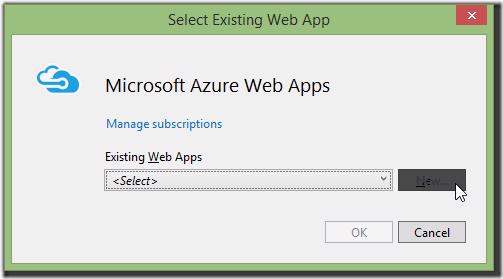
If you setup an Azure site already you can import the publish settings but I haven't so I'm going to click on Microsoft Azure Web Apps
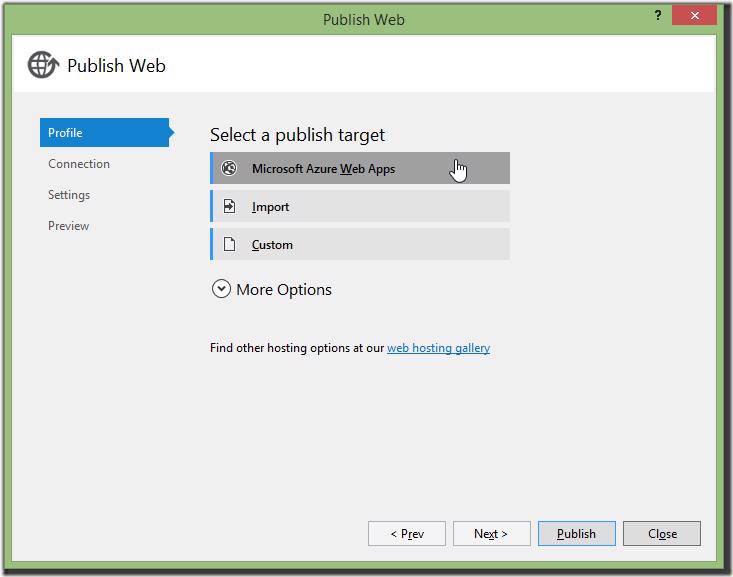
and then click on New (again if you have a site already you can select it in this list)
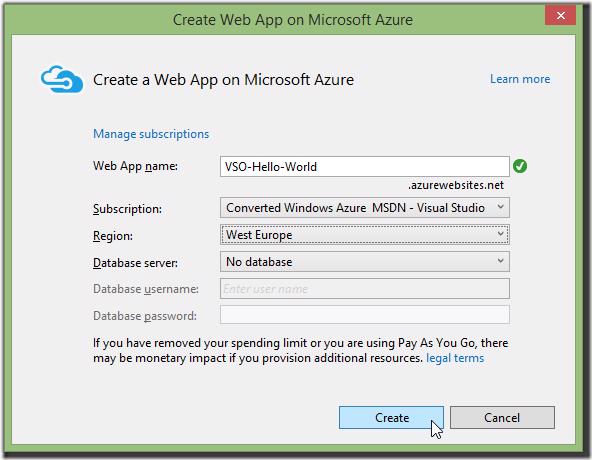
Select a name and click Create
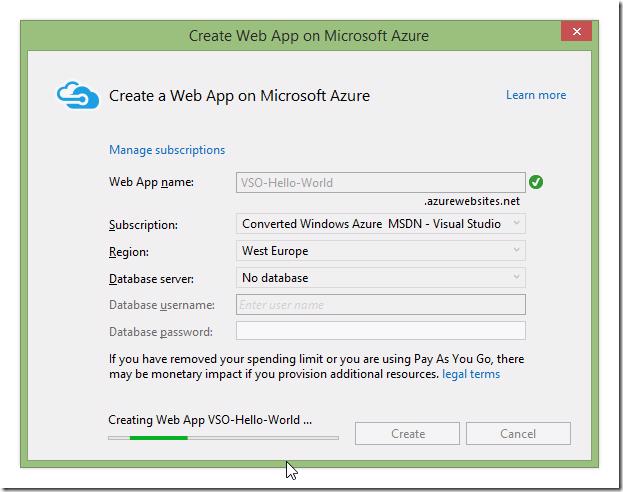
it will now take a small bit to setup your azure resource
and then auto magically configure everything you need 🙂, click Publish
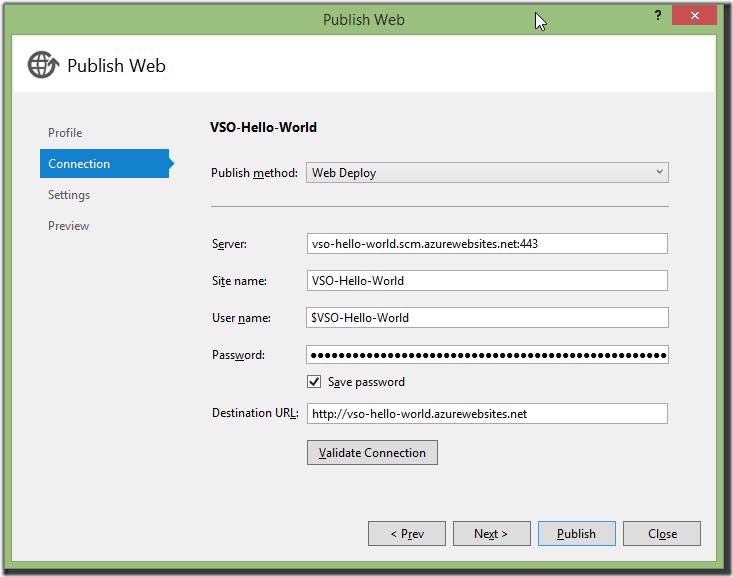
After the publish is finish your site will launch
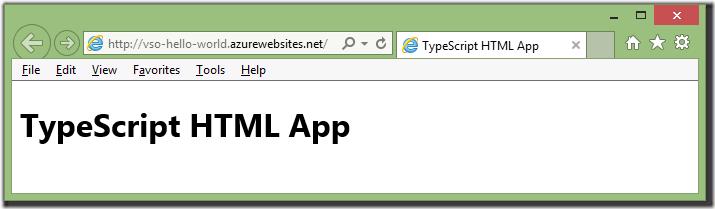
Something that you will notice is that this is http but and not https as we said earlier we require. So let's see what happens if we add a s in there 🙂
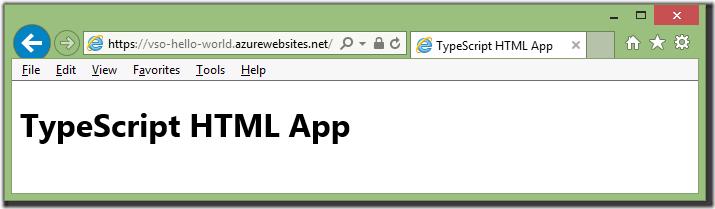
Everything still works 😁.
#Last bit of manifest changes
Now that we have a publicly accessible website running on https (for FREE) we can take that url and replace what we currently have in our manifest so it will now look like this
{ "namespace": "VSO-Time-Ticker", "version": "0.0.2", "name": "Time Ticker", "description": "A simple extension for Visual Studio Online of a Time Ticker", "provider": { "name": "Gordon Beeming" }, "baseUri": "https://vso-hello-world.azurewebsites.net/", "icon": "https://vso-hello-world.azurewebsites.net/images/some-icon.png", "contributions": { "vss.web#hubs": [ { "id": "time", "name": "Time", "groupId": "home", "order": 22, "uri": "index.html", "usesSdk": true, "fullPage": false } ] }}Re-install your extension
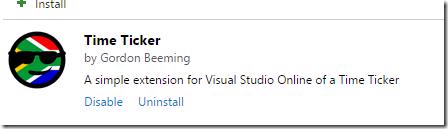
and refresh your extension in VSO
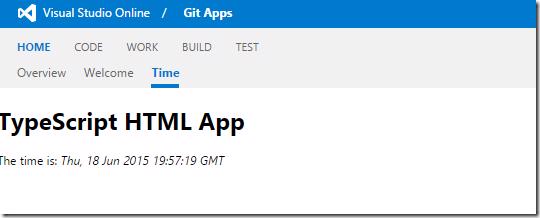
You will notice now that it obviously still works 🙂, if you close Visual Studio and it still works you know it working 🙂 and I suppose you can check fiddler for where it's reading the files from.
#Links
For more info on VSO Extensions visit http://aka.ms/vsoextensions.
A pretty neat getting started post is also on that site at https://www.visualstudio.com/en-us/integrate/extensions/get-started/visual-studio.
Microsoft has a project out on GitHub as well that is quite advanced in the API's that it uses and can be found at https://github.com/Microsoft/vso-team-calendar.
If you want a light overview over everything then you can get their VSO Extension Samples out on GitHub as well using the link https://github.com/Microsoft/vso-extension-samples.
Complete Sample code for this post is also out on Github at https://github.com/Gordon-Beeming/VSO-Time-Ticker